


I don’t know about you, but I like my house to reflect my style and personality. While I do love Big Box stores, I don’t love my house looking like a carbon-copy from a page of their catalogs - especially when it comes to wall art.
My DIY project this week is turning old or unused picture frames into wall art. ALL of my DIY projects are done on a budget and this one cost under $10 total!

I started out by gathering all my frames and choosing a color to paint them. Tip: Don’t buy the budget brand spray paint because the dollar saved is not worth the sacrifice in quality. The brand I prefer to use is: Painters Touch. I chose a high gloss black for this project and sprayed all my frames with one coat of paint. I let them dry for a good 3-5 hours before handling.
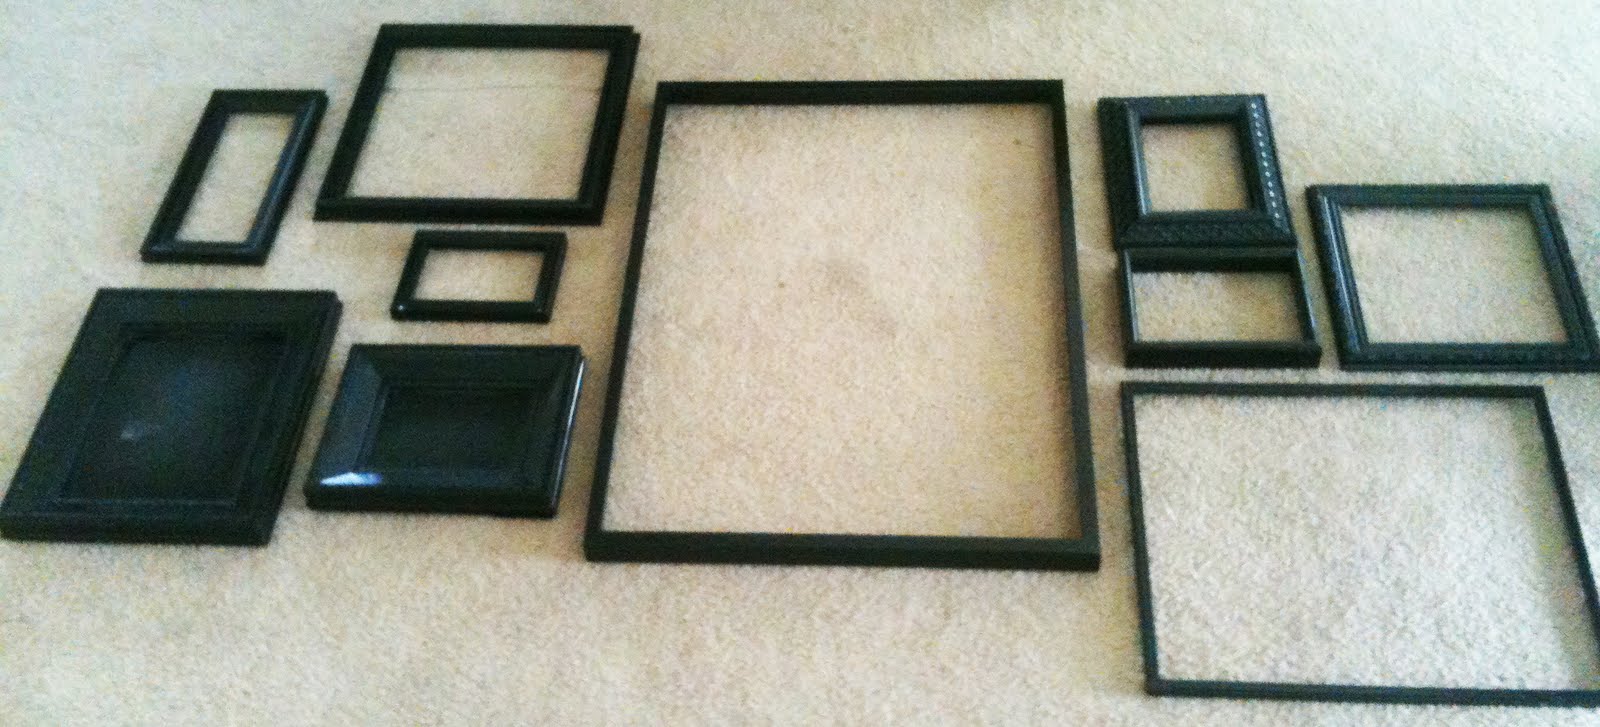
Before hanging, I laid them out on the floor to play with the layout. Once I had decided on the layout, I hung the center frame and worked my way out to the sides. And if you are like me, pictures are never level once I hang them, so that's where MR.Kandlestix came in handy.
Once you you've hung all your picture frames, step back and make sure they are level and centered on your wall. It took some time to pick and prep the picture frames, but I am proud of how the project turned out!
I am sharing this project over at:

Stayed tuned for the next project, where I am going to reupholster a thrift store find!
Awesome, and cannot wait to see this mysetery thrift project!
ReplyDelete